Showing posts with label nikon. Show all posts

Monday, December 16, 2013

Fireworks in the dark!

Well why would you have fireworks without the dark? Ok fine lets get on with what this post is actually about, cheese! Ok just kidding, as the title states I am pretty sure that you know this post is about fireworks! I took these pictures back during 4th of July and I saved them to post for now because I figured New Years has fireworks and you might possibly want to take pictures of them. Also lucky for you these pictures were on my computer at work! Otherwise we would have been SOL because they would have been on my hard drive that got stolen and not on my personal computer.

What I used in this shoot:
-My Nikon D7000
-Vello wireless remote trigger
-Tripod


As set up you will want to out your camera on a tripod because I don't think you can hold a camera 100% steady for two seconds. You will also want to set up your remote trigger and I will explain its importance in a bit. While on setup I should inform you that you will want to be set up on something that does not move.

Firstly you are going to want to set your f-stop as high as your camera will let it, mine was at 22. You want to do this because the higher your f-stop the more you will have in focus and this is very important for fireworks. (you can refer back to my depth of field post) Since you are not able to focus on a firework before it is set off you will want to give yourself as much wiggle room as possible. If you know where they are shooting the fireworks from and you can focus on something right there I would recommend focusing and then setting your focus to manual so that it doesn't try to focus every time you push the shutter.
Also you will want to zoom out as far as possible and leave it that way because it is extremely hard to tell where the fireworks are going to end up so the wider area you can capture the better. So keeping this in mind you will want to use the widest lens you have at your mercy.

Your ISO in this instance isn't too terribly but you do not want anything too low or too high. I usually set mine anywhere between 800-1000.

 Now on to the actual shooting part! So once you are set up the first couple shots will more than likely be testers to make sure everything is good. most of the time you will have to adjust where the camera is pointing because either you will be too low or too high.

The shutter in this instance is controlled solely on how much of the firework you want to capture so this is the biggest reason for the remote. You will have to set your shutter to bulb which on my camera you just adjust the shutter all the way to the slowest and the last option is bulb. Keep in mind that the reason you will want the remote is that with a remote you are not touching the camera and therefore you will not accidentally shake the lens in the process of holding down the shutter.

Once you are set up and pointing in the right direction have fun! Trial and error are the only ways to really know how the shot will come out.

One thing to keep in mind is that fireworks do create smoke and the light of the next firework will light up that smoke so don't be alarmed when your image comes out with something that looks like a smudge on your lens.

 Also remember that the longer you hold the shutter the more streaks you will get so eventually your shot might just be a ton of streaks and be too light to do anything with.

There is no 100% formula for shooting fireworks but this is sure to get you as close as possible to shooting them the best way I know how! So go out and have fun on New Years and please don't start any fires!

Wednesday, December 4, 2013

Life is kind of a living hell right now...

So I've been on this crazy long hiatus from you all because of life and all that jazz. I want to update you that I am still alive I have just been going through some crazy stuff, I have lost a friend (not dead just not really friends anymore), had a ton of stuff stolen from my car (which included my external hard drive so most of my pictures are all gone) and most recently I had a flat tire which hey isn't all bad but one on top of another on top of another is all fun right?

So I am not here to bore you on the woefulness that is my life but I as I make my way through all of this am thinking of starting up a separate blog about how my life could be a c list movie. I do plan on updating as soon as I have more free time but I know for sure there will be an update immediately following new years and hopefully one just before.

The one just before new years will be about how to shoot fireworks, all of those pictures should have been posted on my facebook so I should be able to go back and get those for that post, if not then I am a bit SOL because it really isn't firework season so lets hope I have them on my facebook :/

The one after new years will be of my trip to New York! I am super lucky to have this chance to go up to New York for new years, I have an amazing friend who is letting stay at his place so I don't have to pay for a hotel. I will be up there a week so I expect to have a couple different blog posts separating all of my pictures.

I am now in the midst of finals and getting crap done for my stupid art class and hopefully I will be able to have a post up in about two weeks(hopefully sooner if my life lets me do what I want) with a couple pictures I took over the Thanksgiving Holiday.

Now I don't want to just throw a bunch of words at you and not give you any pictures so here are some pics I have either previously posted the shoot and didn't share or I just hadnt had a chance to share it just yet.

 This picture was from my Night Time Photography blog post. This was a little pencil pouch I used to carry arround so we have a bit of fun up on the bridge.
 This shot is from the Photoshoot with off camera lighting blog post. I have a TON of pictures from this shoot that were just down right amazing, most of which are posted on my facebook page if you would like to check them out.
 This one is an extra from the Better then spoiled milk blog post. Yet again I have a ton of these but I havent gotten around to editing most of them! Hopefully there will be more of these up on my facebook page in the future.

This picture or rather composite is from a photoshoot I did almost a year ago. This is one of my very good friends and we were doing promo pics for the cosplay group she runs and I created this little beauty for her. 


Thursday, August 1, 2013

Lets Have Some Tea!

Ok well not really but yesterday I was up in San Antonio because I can, well actually because I was taking a mini vacation and went to Six Flags on Monday then Tuesday we went to the Japanese Tea Gardens and the mall. So first I would like to apologize for not having a post last week I was super busy with work getting ready for the wedding fair and my days got away from me.

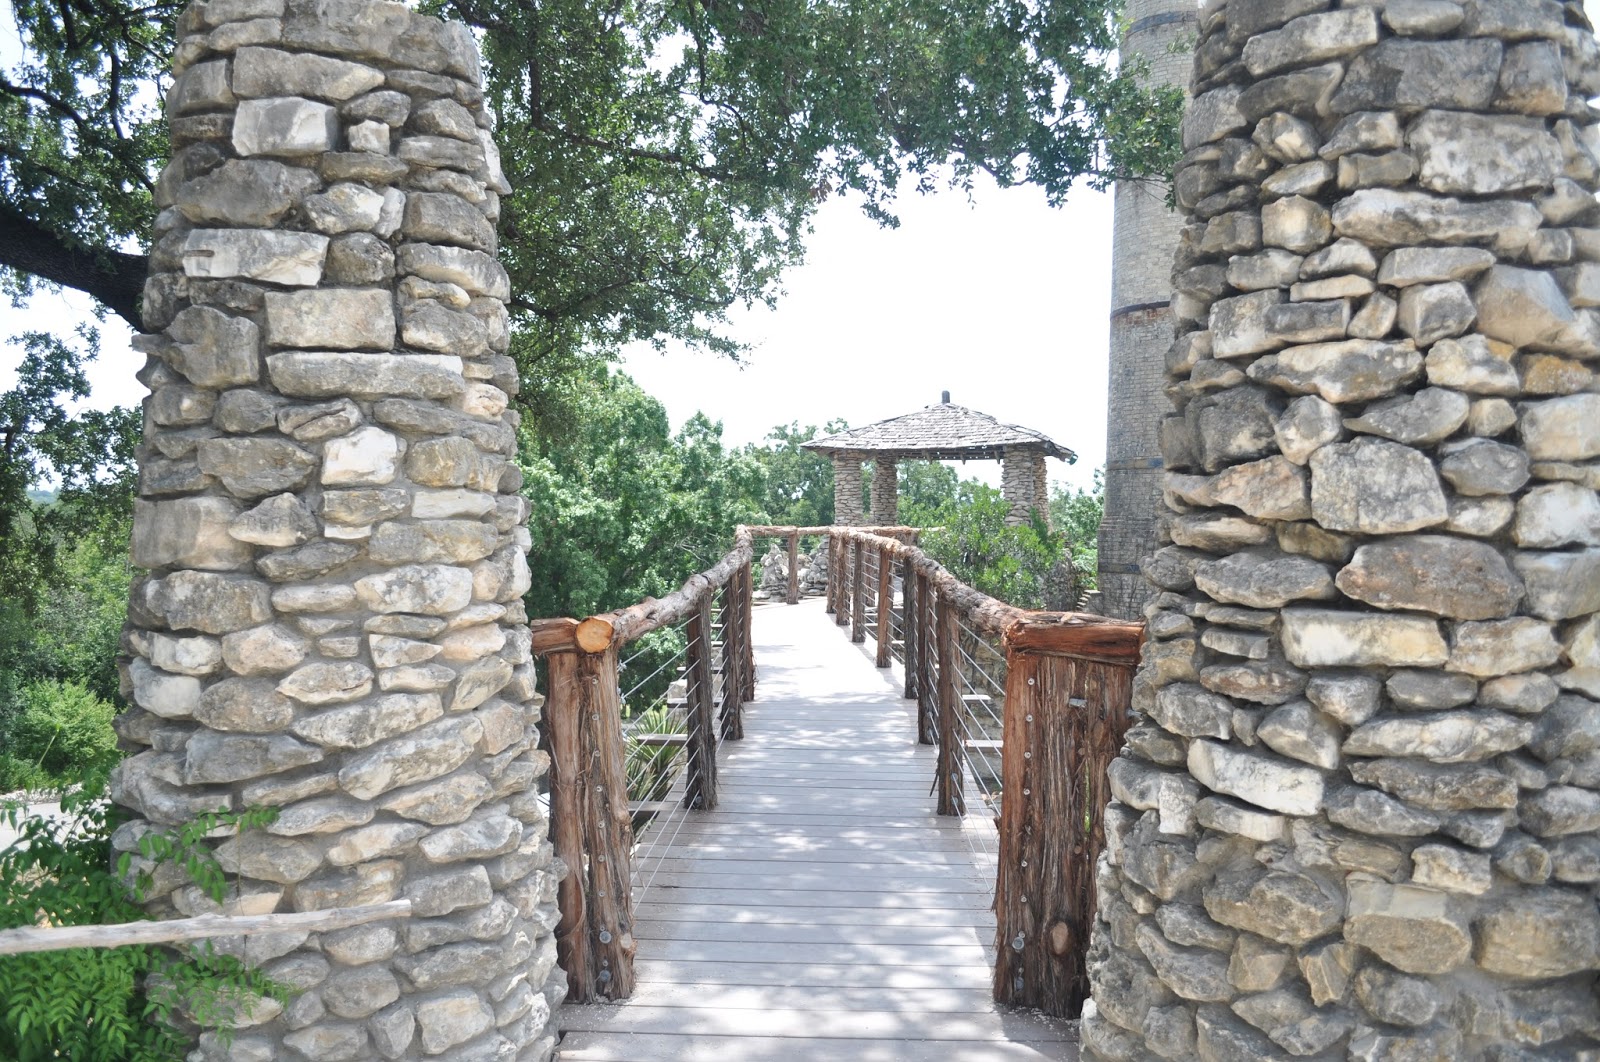
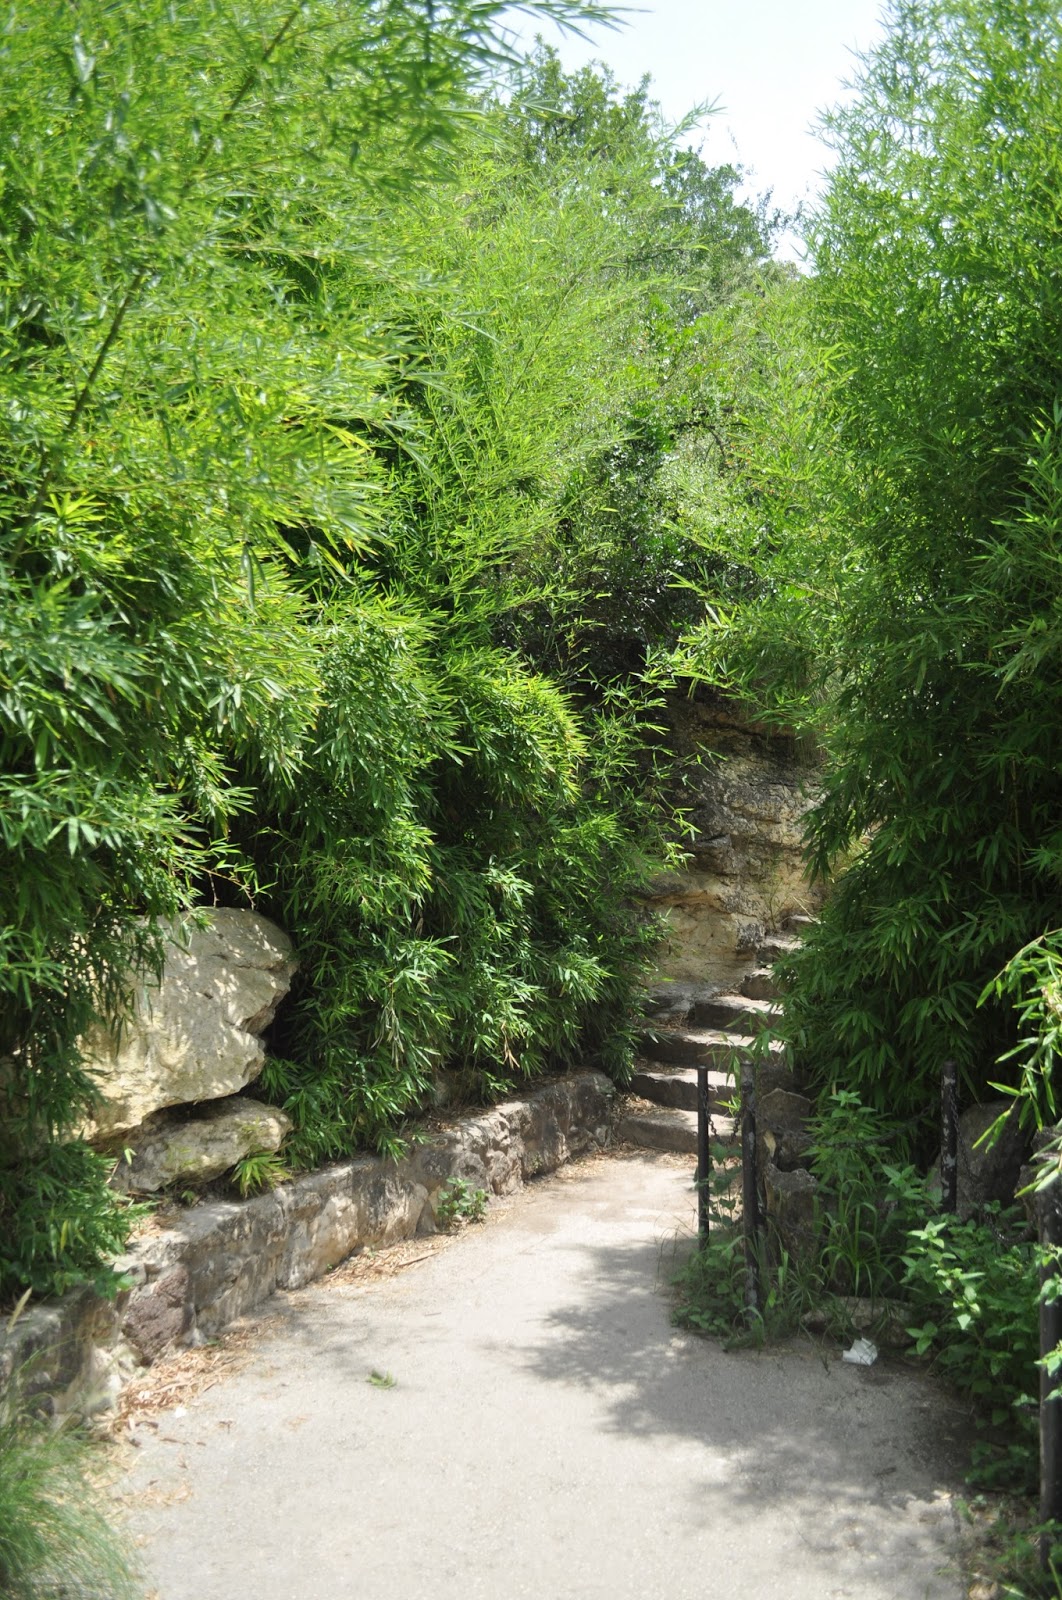
So today I am sharing some of my pictures from the Japanese Tea Gardens with you. The place is unbelievably beautiful I wish I could have stayed longer but it was super hot and we were super tired.
There are lots of stairs there so just warning you if you have any sort of physical problem just be careful because the stairs are made of stone so they aren’t really level.


For this my camera was set to F-5.6, my ISO at 250, my shutter is what changed depending on if I was shooting in the shadows or in the sun, the highest my shutter went was1/640 and the lowest was 1/160. The brighter the spot the higher the shutter but the lower the shutter the more likely you are to catch movement so usually I recommend changing the f-stop if you don’t mind the depth of field difference. The only reason I was doing the shutter was because I only took my D5000 and its easier to change the shutter than the f-stop.

So these are some of my favorite images from the gardens, I have tons more but I don't want to have y'all scrolling forever and ever looking at pictures so here's a couple more shots, I will probably post more on my photography page as well as my personal page so you can see them there.


Sorry this post is going up late life got in the way...

Wednesday, June 12, 2013

Some Favs

Ok so my eye has been twitching for the past 4 days now and I am about ready to gouge it out so needless to say I really don't have the patience to actually write out a whole blog post because I have a feeling I might just self assassinate... so instead I have decided to share some of my favorite pics with you from all sorts of time periods, some recent and have been posted some I haven't posted but might if I need another filler day. I will probably write a little bit about each pic but not go into detail of how i achieved it more or less just when it was done so I will try to put them in order of when I took them... So without further ado:


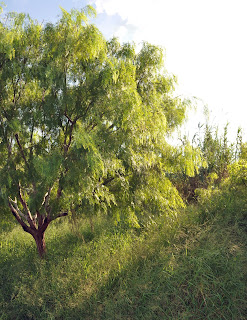
So these three pictures were one of the first pics that I took that kind of made me realize how much I liked photography and that was what I wanted to do with my life. Now these three pics were definitely by no means great, of course young aspiring me thought they were pretty damn good but looking back there are so many things I could change which sadly I cant do because two of these pics I don't have the original files anymore because I have a love hate relation ship with desktops and I never used to back up my stuff onto a separate drive. Can you blame me? I was in high school when this happened. Now I back everything up, twice... So if you take anything out of this trip down memory lane please learn to back up everything!

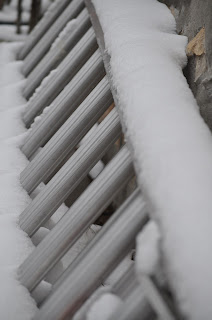

 Next in line is this gorgeous baby, this was taken in my digital photography class on our first photo shoot outing. This was my first time handling my very own DSLR which was my Nikon D5000 which I still have. I was not yet shooting in manual because I was still learning but this picture is by far my best accomplishment from that class. Sometimes I honestly cant believe that I took this pic...
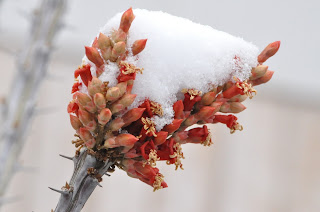


So after that sometime during Christmas of course right now i cant remember which Christmas but I was up in El Paso for Christmas and it snowed! So of course I whipped out my D5000 and ran outside without gloves on and froze my pretty little fingers off but out if it i got some amazing pictures of snow that rarely ever happens in south Texas and usually happens in El Paso after we leave. By this time I knew how to shoot manual and everything here on out was shot in manual.


Next up was night time photography, my co-worker at the time had gotten me interested in night time photos and so he took me where he liked to shoot and I came up with this baby!.


The  next time we went out we trekked up the Harbor Bridge and did some amazing pictures from up there and soon we are going back for fourth of July to take pics of the fireworks!


So these pictures were taken for one of my friends moms boyfriend, thats a mouthful... He was making a CD and these were some detail shots from the session which I love and honestly have no use for but to post them here maybe one day I will have to use these in a class or something.
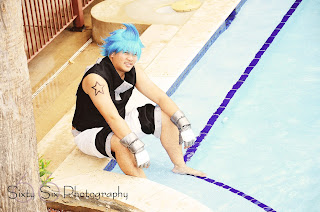


This picture was taken at a convention back in November and i just love everything about this picture, the lighting the pool, the convention gave us lots of down time and if we ever film the rest of the video I will post that even though it wasn't photography.

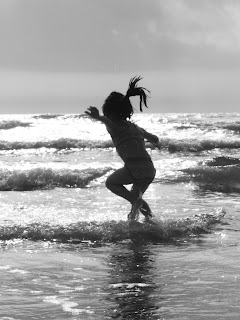
Next up was the water pictures which is the first ever blog post that I posted. There were so many from this shoot that I loved and the entire experience was fun too!


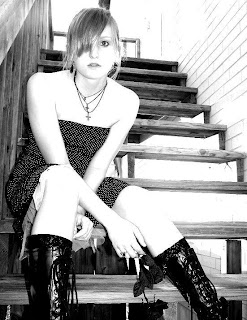
Last but not least this picture! This pic is probably one of my favorites by far, the lighting I'm in love with, the shadows, the pose, the everything... I know there are probably things I could change but this picture but I wouldn't just saying. 


So I hope you had fun taking a trip with me down memory lane, I know I had some fun because I was unearthing things I completely forgot about... So hopefully my eye stops twitching and I might get to post up something else. Today was originally gonna be a post about graduation since one of my friends graduated this past weekend but I forgot the memory card at home thanks the the ever annoying twitch in my eye... 

Wednesday, March 27, 2013

Photoshoot at a Convention

Ok for this blog post I'm going back into my files and pulling out another old photoshoot. This one was done at a convention in Weslaco at an anime convention. Usually at anime conventions there are quite a few places to shoot and for us we had this beautiful pool area to shoot with.
For this shoot my camera settings stayed pretty much the same the entire time because it was cloudy and the lighting never really changed! Which basically never happens lol! So for my settings I had my shutter at 1/200, my ISO at 200, and my f-stop ranged between f5.6 and f7.1 because of the zoom on the camera.


One of the fun things about this shoot was working with cosplayers, for those who don't know the characters the one with the blue hair is Black Star and the one with the purple hair is Blair. Now Black Star is a friend of mine and we were planning on doing a shoot anyway but Blair we had just met that day and kinda just grabbed her for a video we were shooting and used her in the photoshoot. She was a great sport, and I loved her shoes!

So the big difference working with coplayers is that you or they need to know how the character acts to do the shoot. If you shoot them out of character more than likely you will get a bit of flack from that. So I was lucky enough that both my models knew exactly what they were doing!


So all I had to worry about was setting up the shot like where I wanted them and where I was. For most of the shots I was across the pool from them with one of my zoom lenses on. I believe for most of this shoot I worked with my 55-200 lens. For this shot I went up on the stairs going up to the second floor so I could get a higher angle.

Where you are in a photoshoot I feel is key because you control where you want the viewing to be looking from and what you want the viewer to see. The first picture was also shot from the same area just a little higher on the stairs.


Also play with your angles a bit don't just shoot the same angle every shot, change it up a bit don't be afraid to test things out. Not all of your shots will be useable but thats ok you need to know what works and what doesn't.


The only thing I did in photoshop for this shoot was add a warmer effect because I wanted it to seem more like a sunny day since the sun wasn't out.


I know this post is a bit short but I wanted to share this shoot with you because it was one of my favorites.

Wednesday, March 6, 2013

Photoshoot with off camera lighting!

Ok so for today's post I will be talking about my shoot with one of my friends last Sunday! This was a fun shoot to do and also very dirty! For most of these images I used off camera lighting and for some I didn't use any at all so everything was natural lighting.

For this shoot I used:
- Nikon D7000
-SB 910
-SB 700
-CowboyStudio NPT-04 (Wireless trigger for my flashes)

On a side note you will now notice a logo on the images, I now have my own facebook like page :D so feel free to go like it: www.facebook.com/sixtysixphotography

For this image my camera settings were at ISO 400, F-stop 5.0 and Shutter 1/250. As for the lighting setup I Put one flash on the ground at about a 30 degree angle shooting at the wall behind her to illuminate that and another flash at the same angle further down to illuminate her and the wall between me and her. Both of the flashes were set at a 1/8 of power so that it didn't overpower the subject. The f-stop is what gives us the depth of field where the wall closest to us is blurry and the subject is in focus.


For this image the camera settings were ISO 320, f-stop 4.5 and the shutter at 1/250. The lighting setup for this was one flash to the left of me on the ground at about a 25-30 degree angle. The flash was on full power and a little further away from the image above so it didn't over power anything. What I was playing with in this image was the shadows so I had the subject step up about 4-5 steps from the wall so that the wall got pretty much all of the subjects shadow on the wall to basically replicate her pose.


This image was fun to shoot because I was on the other side of the building shooting so I couldn't control much. The camera settings were ISO 250, f-stop 5.6 and shutter 1/200. I used a flash on the floor behind her to light up the background, the flash was on full power pointing straight up to the ceiling (it was a pretty tall ceiling).

I honestly had so many from this shoot that I love and all had different setups so i will try to only do 2 more. For this image I used ISO 320, f-stop 5.6 and shutter 1/200, very similar to the last image. For the last image I had some ambient lighting to work with but not too much since the sun was on the other side of the building. For this image I had more ambient light but I didn't have it where I wanted it so i used both my flashes on full power at about a 30 degree angle pointed towards her to light up the room. I used the lower f-stop to create the depth of field where the flowers are in focus and she is blurry in the background.


For the last image I will talk about is this one, i did not use any flash because she was literally 1.5 floors above me on the opposite side of the building so I was working with ambient light the whole way. The camera settings were ISO 250, f-stop 13.0 and shutter 1/250. The sun was coming in straight on her face so I had to adjust for that which is why I make the f-stop higher since I wasn't doing any depth of field work.


So if you liked these images you should check out my facebook page I have more pictures from this shoot!  (dont forget to like the page too!)

Friday, January 18, 2013

Its All About the Setup


Since I just now decided to start this blog I don't have a picture of my setup for this first post but this one is all about your setup and timing. I sketched out what the basic setup was in Photoshop so hopefully you can understand what I did.

So to start you will need:
-A pale or something to have the water in (I used a paint liner that was painted black)
-A flash (Nikon SB 900, I used the SB because it has a higher sync speed than a strobe so you can used a faster shutter)
-Camera (duh!)
-A paper with different colors printed on it (make it in Photoshop or paint, 2 colors preferred)
-Something to drop water into the pale (for this I rigged up a bag to continuously drop, but if you have a helper you can have them drop the water for you)
-A tripod (optional)
-A stand for the flash (or a helper)
-A Table to setup on
-An off camera flash system (you can use a corded system, pocket wizard, Yongnuo, whatever your heart desires it just has to be off of the camera)

So to start I got the paint liner and filled it with water and placed it on the table. For the water droplets I filled up a bag and rubber-banded (you can tape or just hold it) it to a backdrop stand so that I could have a constant water drop and I didn't have to time it just right with someone else. The I taped the paper to the back side of the paint liner and taped to top of the paper to where the bag was connected. For the flash I had a helper and he would hold it and tilt it as I needed. but the key thing is to have the flash pointed at the paper across the water so the colors reflect across the water. This is what it should look like with no water droplets:


Now for shooting it I recommend using a macro lens so you can get closer to the droplet without having to crop in and reduce the ability to print on a larger canvas. Now with a macro lens you are going to have to clean off the lens because when the water drops it does splash a little. The other option is to use a longer lens but even those have limitations on how close you can really get to the droplet.

Next for the settings in my camera I had my ISO at 250, my shutter at 1/2500, and my aperture at 14.0. you can mess with these settings as much as you want but the high shutter is a must if you are wanting to "freeze time". My ISO is usually at 250 when shooting indoors with a flash, its pretty much my golden ISO. For my aperture I wanted pretty much all of the image in focus so I went with a higher f stop. The camera I was using was a Nikon D7000, that really doesn't matter in this or anything else because you can get this image with any camera that has a fully manual mode or even a partially manual mode, you just need to control the shutter.

For focusing it will be hard since you are basically focusing on a plain black surface so what I did was figure out where the drops were landing and used a straw to focus on that then turned the focus to manual. At this point you only have to refocus if you move, and I do recommend moving, try different angles its what makes the image better. You can as I mentioned before move the flash around at certain angles it reflects better in the droplets that are in the air making them stand out more.

Pretty much every image that you capture will be different and don't be afraid to take too many, its all digital now so you aren't wasting film. Do keep in mind your flash can only take so much, don't over heat it, especially if you are using the SB 900 that one overheats really quickly but it did me just fine for this shoot. Now I don't know exactly what the flash was set at but I usually start it at its regular default power and just turn it up and down as I feel it needs. For shoots like this I usually don't change the flash settings I mostly change the camera settings.

Here are a couple more from this shoot: